Not sure how to get started with your Cricut? Feeling overwhelmed?
This guide shows you how to install Cricut Design Space and get started with your first project, with instructions and screenshots for each step.
Cricuts are amazing! But if you haven’t used one before, or you’re not techie, then it can all feel a bit overwhelming trying to figure it out.
Design Space is the app where you will design your creations, so you’re going to need to know how to use it. Whilst it is fairly intuitive, most of us need some help to get started.
That’s why I’ve broken down how to get started with Design Space into easy step by step instructions. Follow along and you’ll be up and running in no time!
Quick Links to Information in this Post
Step 1: Install Cricut Design Space
To get started, the first thing we need to do is download Cricut Design Space. If you’re on a computer or laptop, then head to https://design.cricut.com.
If you’re using an iPad or iPhone then go to the App Store and search for “Cricut Design Space” and install the app. If you’re on an Android phone or tablet, open the Play Store app and search for “Cricut Design Space” and install the app.
For the rest of this tutorial, we’re going to show the steps using a Windows PC computer.
Once you’ve opened https://design.cricut.com in your browser, you’ll see the window below.
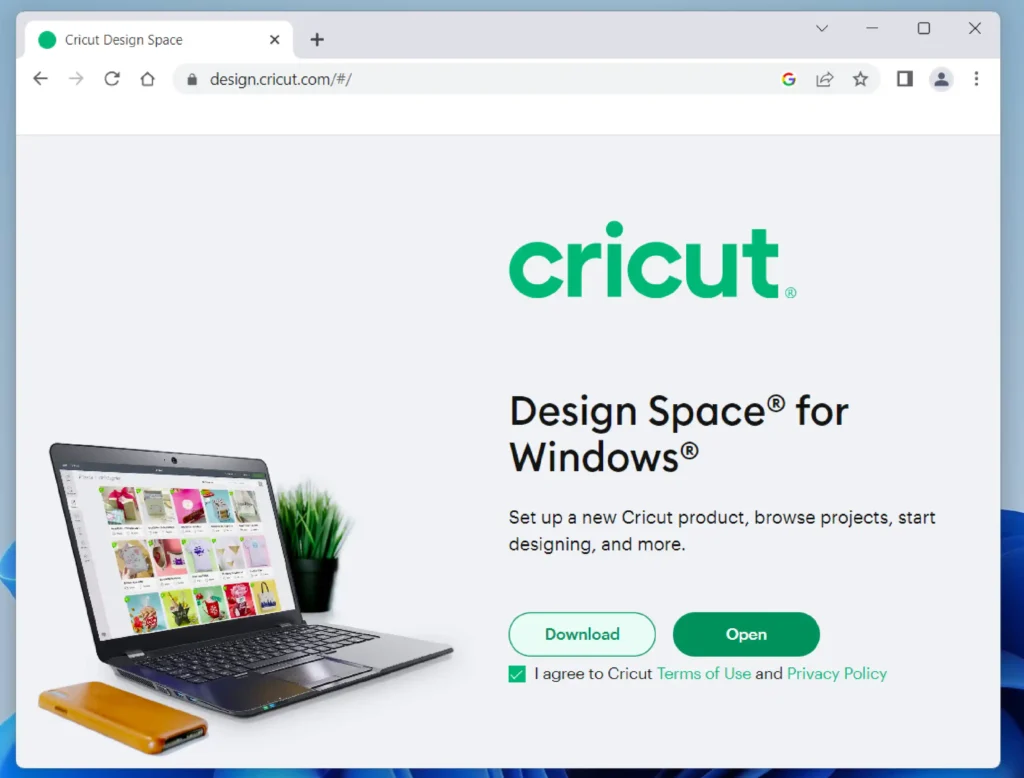
Simply tick the checkbox and then click the Download button and Cricut Design Space will begin downloading.
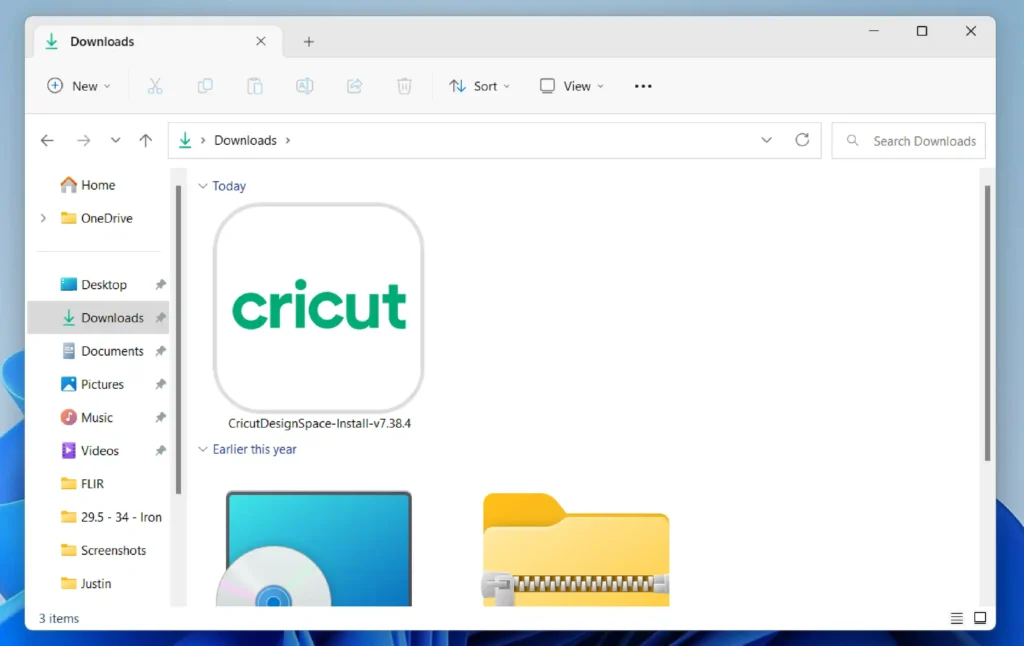
Once it’s downloaded go to your Downloads folder and then double click the Cricut Design Space installer, which will start the installation process.
Once Design Space has finished installing, it will automatically open the app, which brings us on to the next step.
Step 2: Set up your Cricut ID
You’ve installed Design Space, congrats! Now you need to create your Cricut ID, which is the profile you will use to log into Design Space.
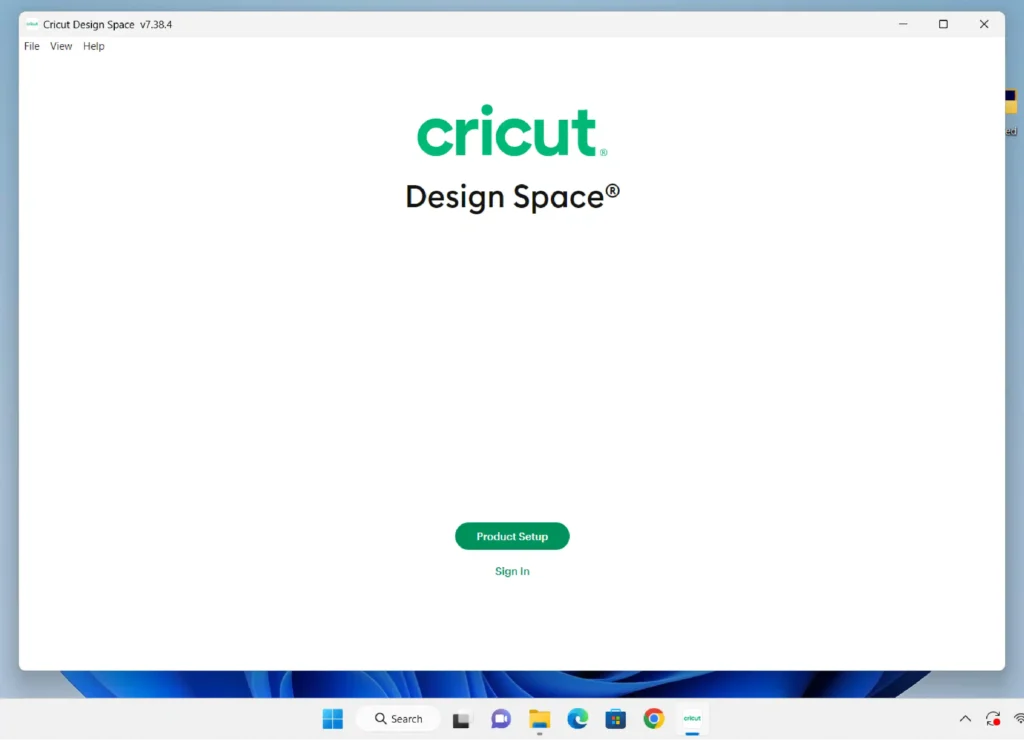
Once Design Space has finished installing you will see this screen. Click ‘Sign In’.
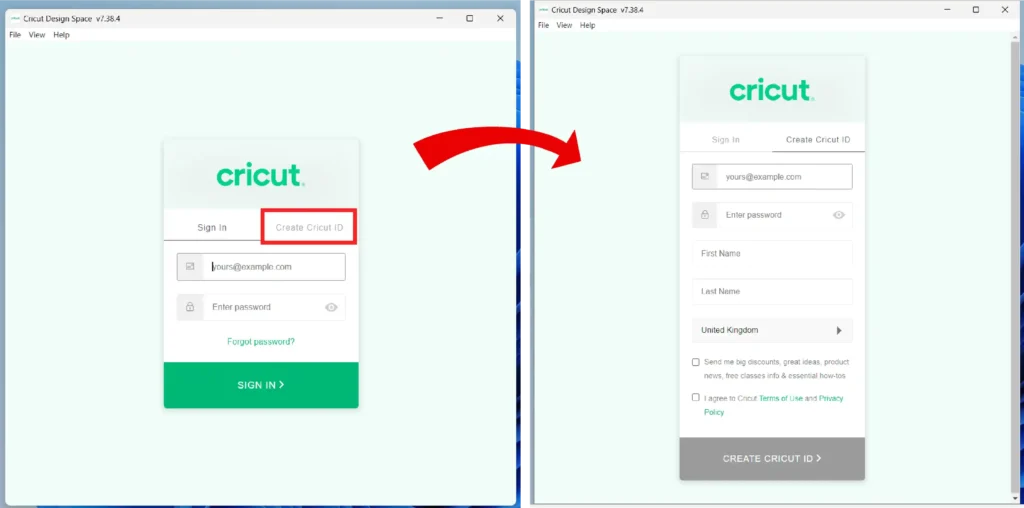
On the next screen, click ‘Create Cricut ID’. Now enter your information to create your Cricut ID. At the bottom, choose whether you want to be sent discounts and promos by Cricut, tick the bottom checkbox and click the CREATE CRICUT ID button at the bottom.
Great work! We’ve now got you set up with a Cricut ID and you can access the Design Space app.
Step 3: Set up your Cricut machine
The next step is to configure Design Space so that it’s set up for your Cricut model. From the home screen, click on your name in the top right. This will open a dropdown menu. Now click on Settings.

In the new window, click on Machines, then click Start (next to New Product Setup).
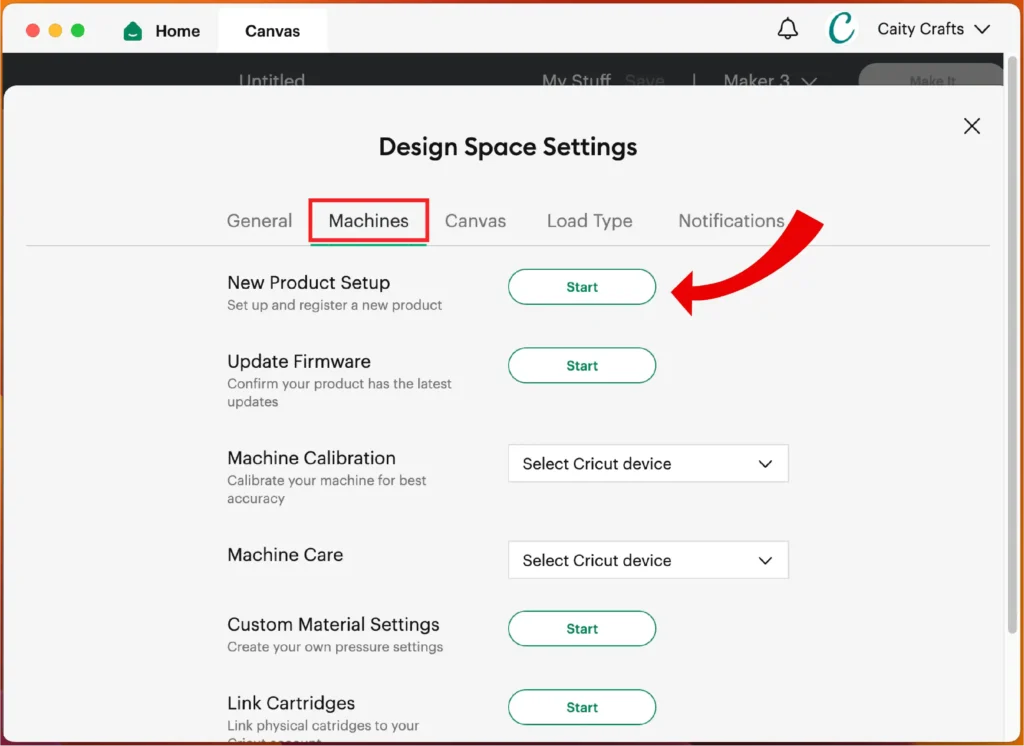
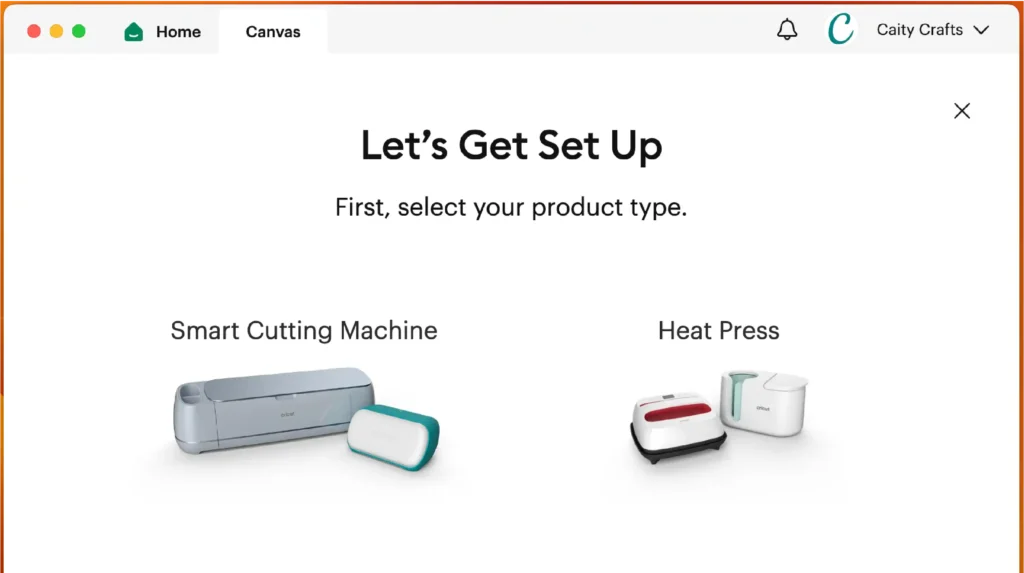
Now follow the prompts to select your Cricut model.
Step 4: Start your first project
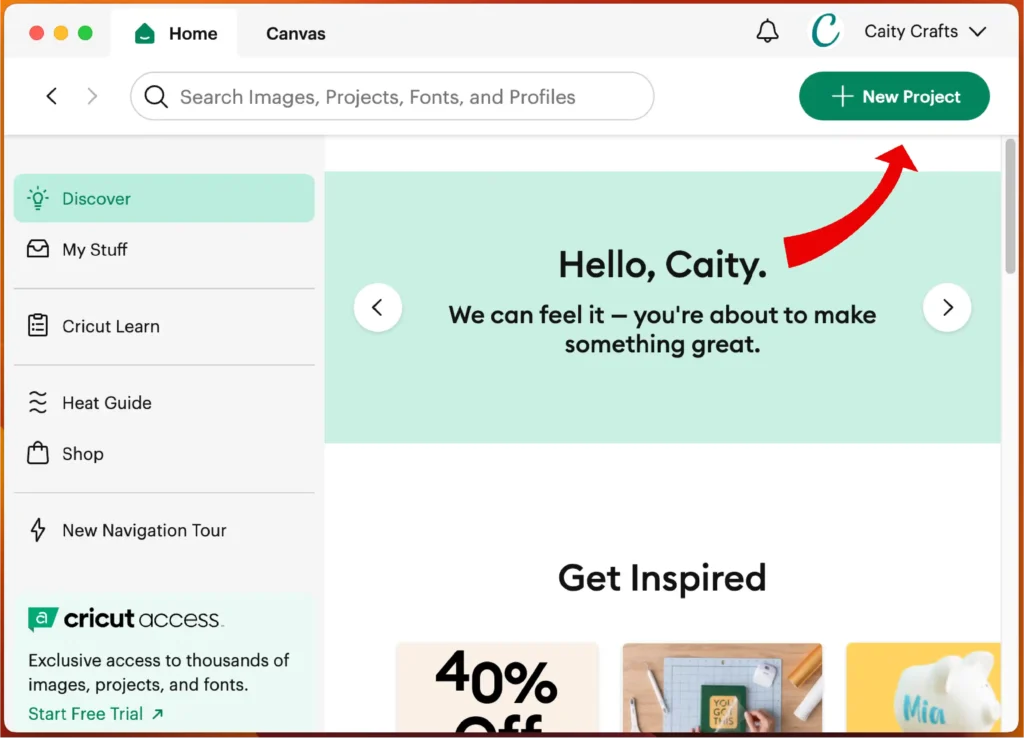
Now that Design Space is set up for your Cricut model, the next step is to open your first project. From the Home Screen, click the ‘New Project’ button in the top right.
A new window will open with a blank canvas. You can now start adding elements such as text and images to the canvas!
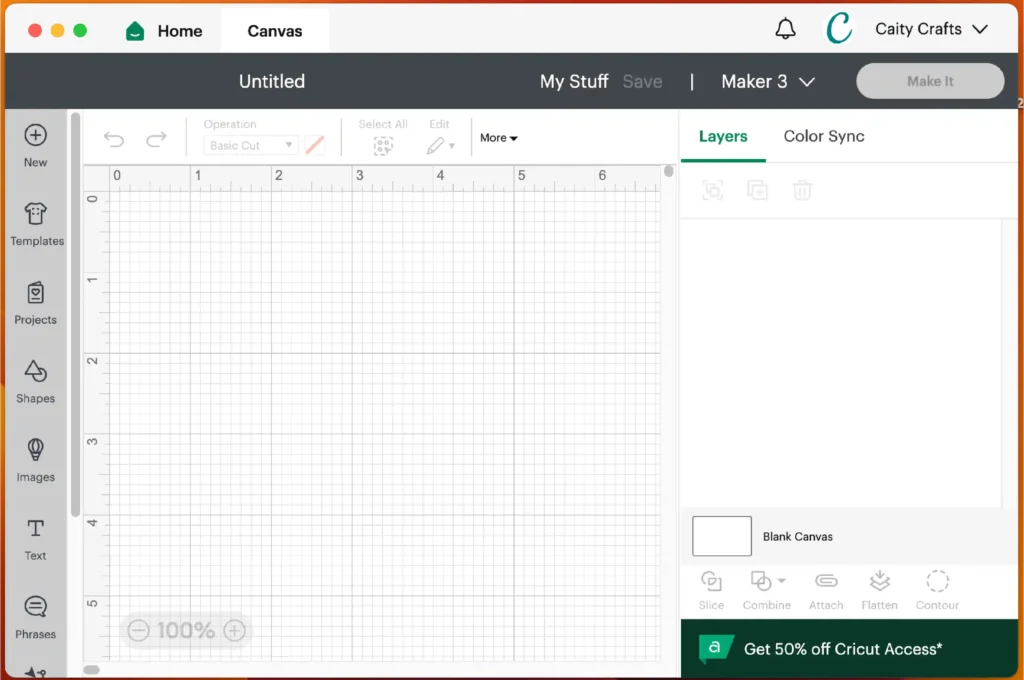
A new window will open with a blank canvas. You can now start adding elements such as text and images!
Recap
Let’s do a quick recap of the steps we’ve covered together:
- Downloaded and installed Cricut Design Space
- Created your Cricut ID
- Set up Design Space for your Cricut model
- Started your very first project.

